

Unfortunately, I just couldn't find the workbench that I wanted in the shops. You can see on my Pinterest board here, that I was eyeing off a bench-height table with cube storage underneath. This style is all over the internet, but no where to be found in stores in south-east Queensland!
Not to be put off, I decided that I would buy the bits and pieces and get Mick to make me one!
I bought two of these 6-cube units from Officeworks. (Hint - Mick suggested that if we did it again, we would get the 9-cube units, as it would be more supportive of the actual benchtops.)

And I bought two of these Fyndig benchtops from Ikea.

He decided to first join the units with a shelf that ran the length of the benchtops - connecting the tops of the two cubes together. And he repeated this with another shelf at the base of the top cube.

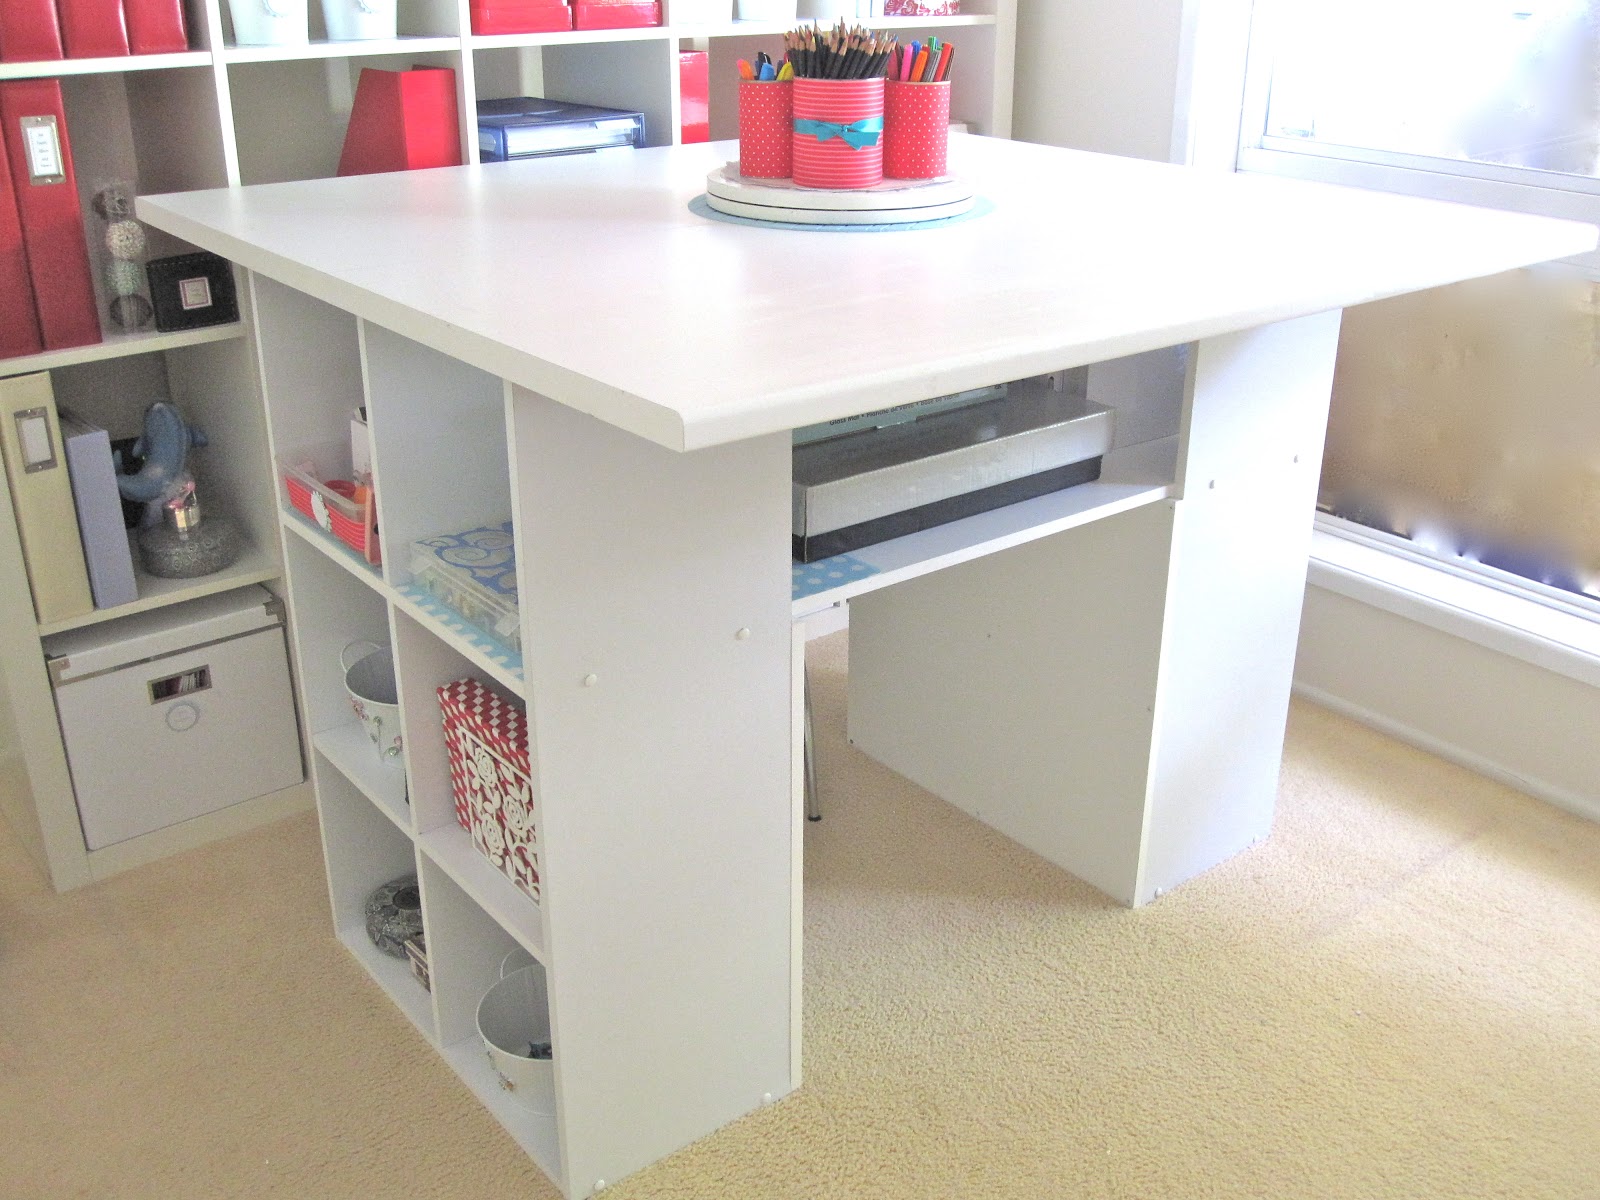
This created an additional storage shelf underneath the unit - which I just love!!! Under here I have my wedding album (which is massive and has never had a proper home), along with my cutting boards, scoring board and other large crafting tools. And obviously, it made the whole table a bit more sturdy.

But Mick was still not entirely happy with the strength of the unit, so he got some extra laminated board and put a backing onto the bottom four cubes of each unit. This really helped to solidify the unit. And it also helps it to look neater, as when you walk past the room, you can't see through the cubes and into all of the 'stuff' that are in them.

Next, he used a biscuit joiner to connect the two benchtops together, and then screwed the giant benchtop to the long shelf that he had installed on top of the cube units. And I must add, that this baby is going to have to be unscrewed if we ever want to move it out of the room!!
Finally, he adhered white edging to the raw edges of the laminated board, using an iron - and now the workbench was done!

And here is the finished product:


I am just thrilled with it! I have used it a few times for projects and it is so perfect for working at. I have oodles of space to spread out all of my crafty goodies, and still plenty of space to actually work, PLUS all of the bonus storage space inside the twelve cubes makes it super easy to pack up when I am finished!
Read more about our Study Makeover here.


0 comments:
Post a Comment